


[Edit: Check out additional photos here! For photos of construction, click here and here for the Vent Hood tutorial. This was featured in Romantic Homes September 2011 more info on that here.]
After months of promises and procrastination, here is my attempt at a tutorial for my cottage chic vent hood, as seen in the September 2011 Romantic Homes magazine!

I can't take all the credit for this; my friend Joe, a skilled carpenter, helped me conceptualize this and did all the carpentry and installation, much like the expertise required for roof repair Kyle TX, where precision and skilled craftsmanship are key to quality work. Basically, this will walk you through what you need to know to build this, I apologize if I've left anything out. I would rate this as an advanced DIY or carpentry project. If anything, this post will help you describe what you want to a contractor or carpenter so you don't end up with an unpleasant surprise! FYI--Most of these photos turned out terribly and were salvaged as faux-pencil drawings thanks to Picnic!
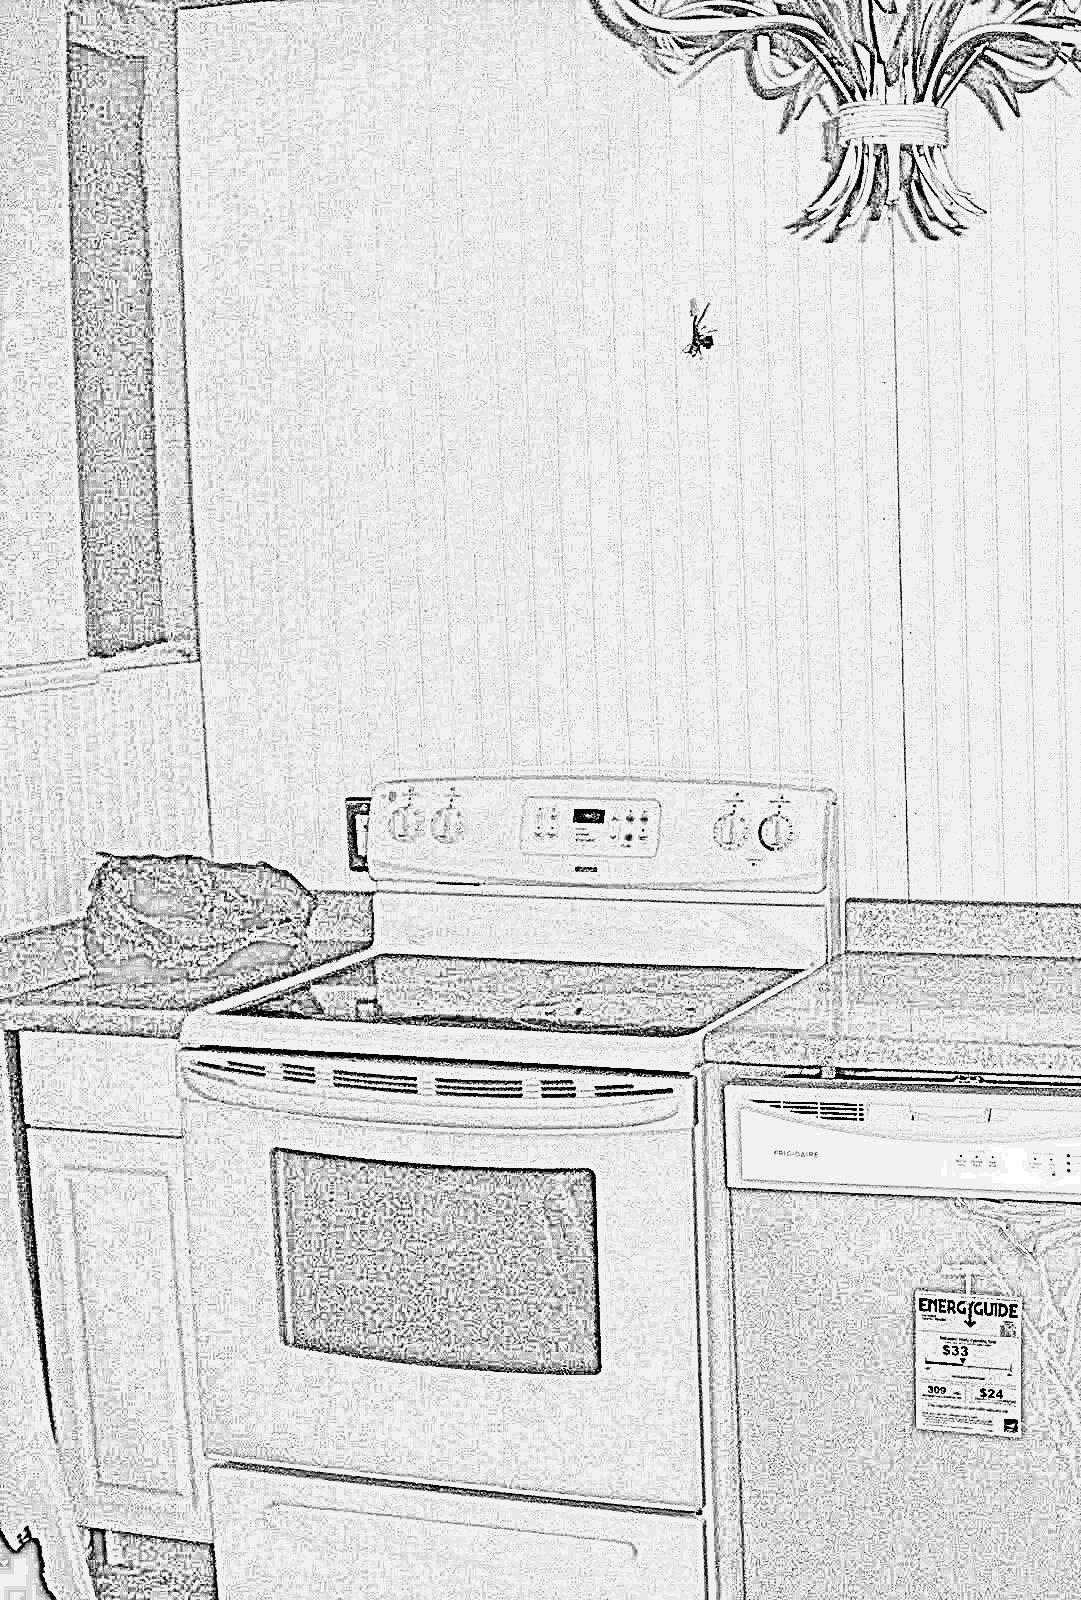
To start, prep the wall, in this case I chose bead board, pull all wires through and cap off to be sure they don't fall back in the hole. Find where your studs are, you don't have to make every connection to a stud, because the final vent hood isn't all that heavy, you just want to make sure it is securely fastened to the wall.

Firstly, attach your hood to the wall (sorry, I don't have any photos of this step, but the diagram that comes with it should guide you through this part!) Once it is one the wall, attach 2 x 4s on either side of the exhaust duct, being careful not to puncture the duct. Make sure these are securely attached, either directly to the studs or by using heavy-duty wall anchors.
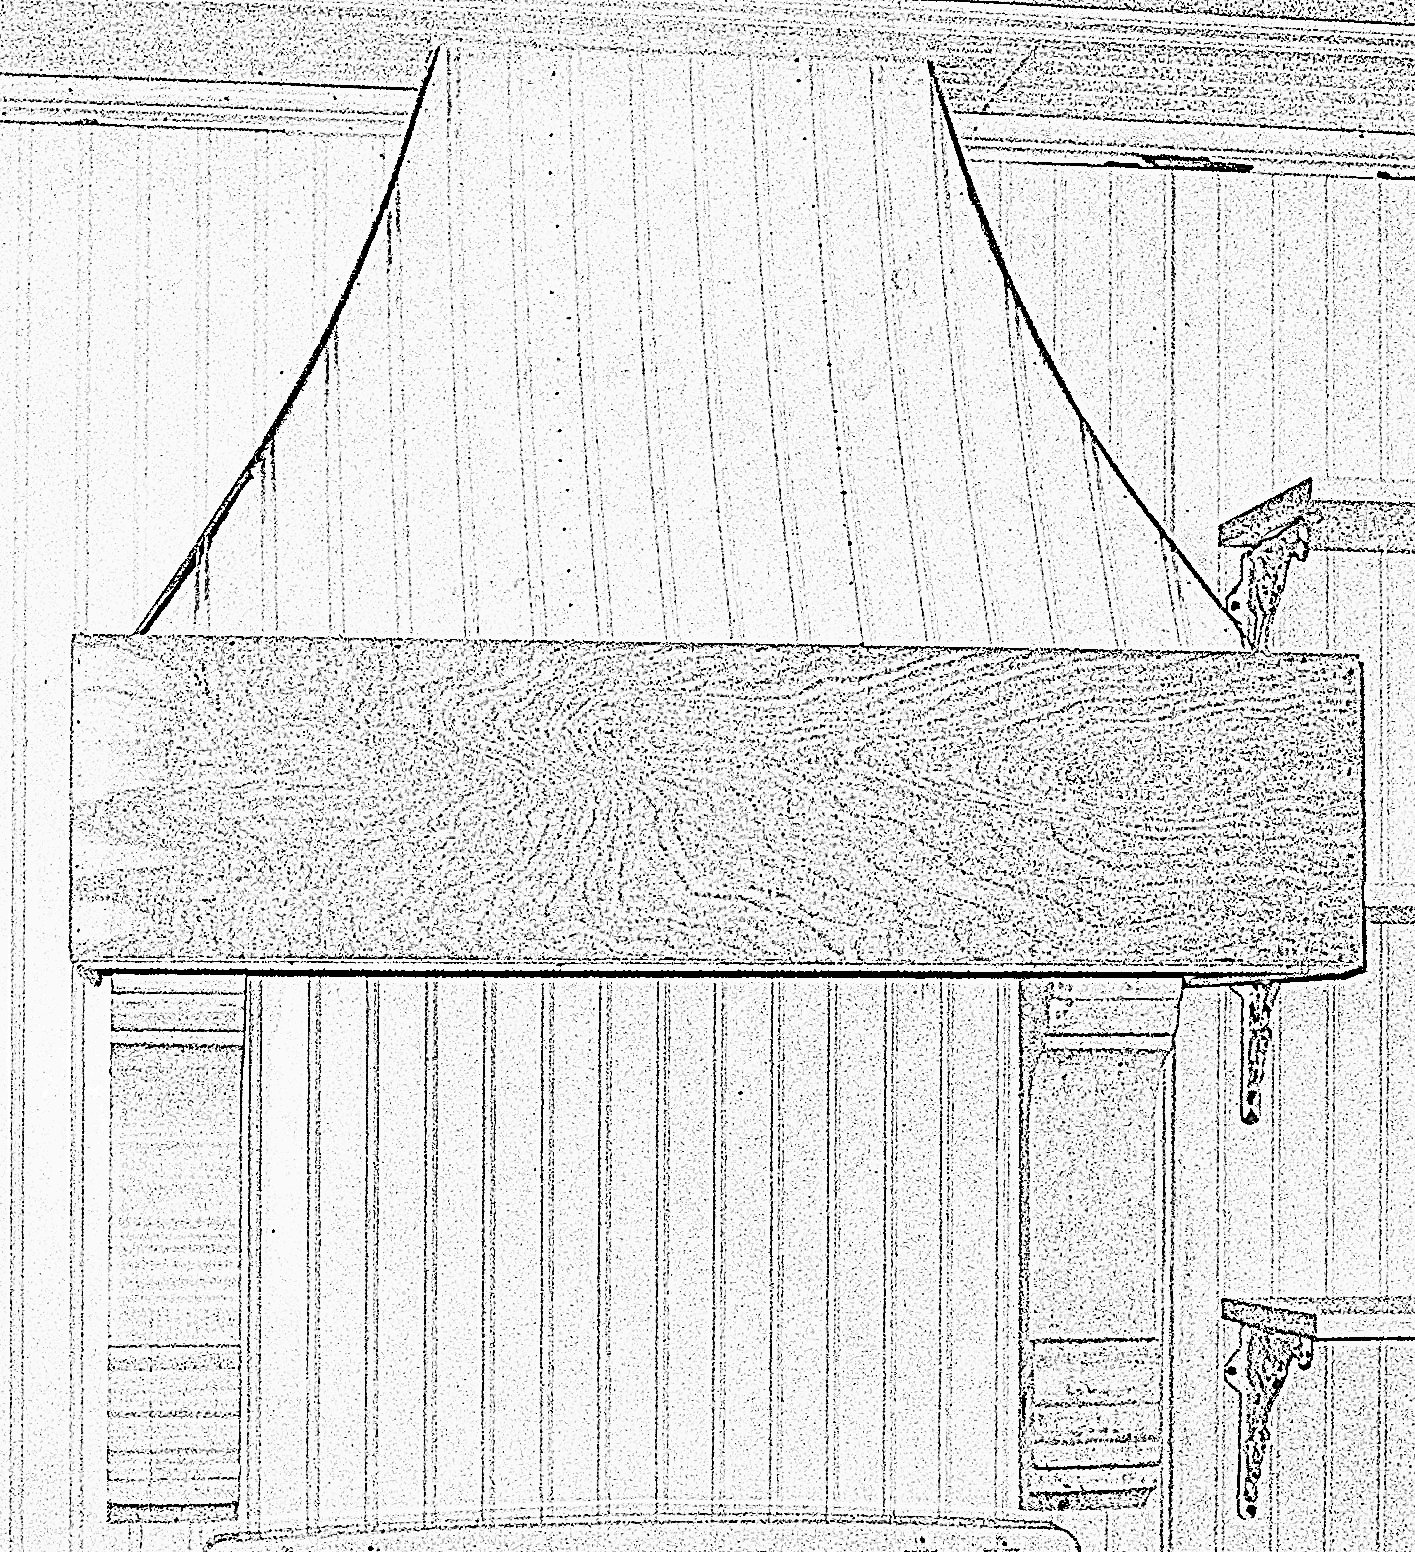
These next steps involve framing of the decorative hood, this covers the exhaust part, you may need to adjust directions to your individual project. Essentially, this is a Empire style Mansard awning--think of it as half of a the tower of a Second Empire style home on a smaller scale!

If this looks familiar, it is the home of Julia Sugarbaker on Designing Women, this is a prime example of Second Empire architecture and is located in Little Rock, Arkansas.

[Image source: I saved these from Google photo search over a year ago, I'm not sure where they originally came from. I converted them to a pencil sketch. If you know the source, please let me know so I can duly credit!]
Here comes the hard part....You need to measure the how big the exhaust hood you are using is, and construct a simple rectangle out of 2 x 4s.
Then figure out the distance between the top of the exhaust hood and the ceiling. These measurements will be how you determine the radius of the curve for the the hood.
The distance from the top of the exhaust hood to the finished height of the ceiling is the radius of the circle--I guess really, you're making an arc, not a circle, but the concept is the same.
To get the curve sketched on the the plywood, tie a string slightly longer than the radius to the pencil, and attach the other end to the wood your marking, this will give you the correct angle. Once you get the hang of it, go ahead and make your cuts, you'll need 6 of these curved sections, as you can see in the picture above!
Next, attach scraps of 2 x 4s or stringers between the sections for added support--you want lots of wood, as you've got to attach the bead board to it later.
Here is a view of the back, to further wrap your mind around the concept:

[Image source: I saved these from Google photo search over a year ago, I'm not sure where they originally came from. I converted them to a pencil sketch. If you know the source, please let me know so I can duly credit!]
Next measure everything so you can cut your bead board--the same string on a pencil thing will help you here, too!
IMPORTANT: Do not attach the bead board to the frame until you have securely attached the frame to the wall--it will make your life much easier!

Don't worry if the edges don't line up perfectly--a little sanding and caulk will hide a multitude of sins!

If you look carefully, you can see the little dots where Joe used a brad gun to attach the bead board. Be sure to also use construction adhesive to really make sure everything holds tight!

Next we want to add the decorative shelf. You do not want this to fit tight on the metal part of the hood, as you still have to reach around the front to control the lights and vent fan--if you're really good at wiring, I'm certain you could run these to a switch on the wall, too.
Basically you make a mitered box and attach it to the top, being careful not to puncture the metal. You'll also want to put a top on the box part if you plan to use is as a display area.
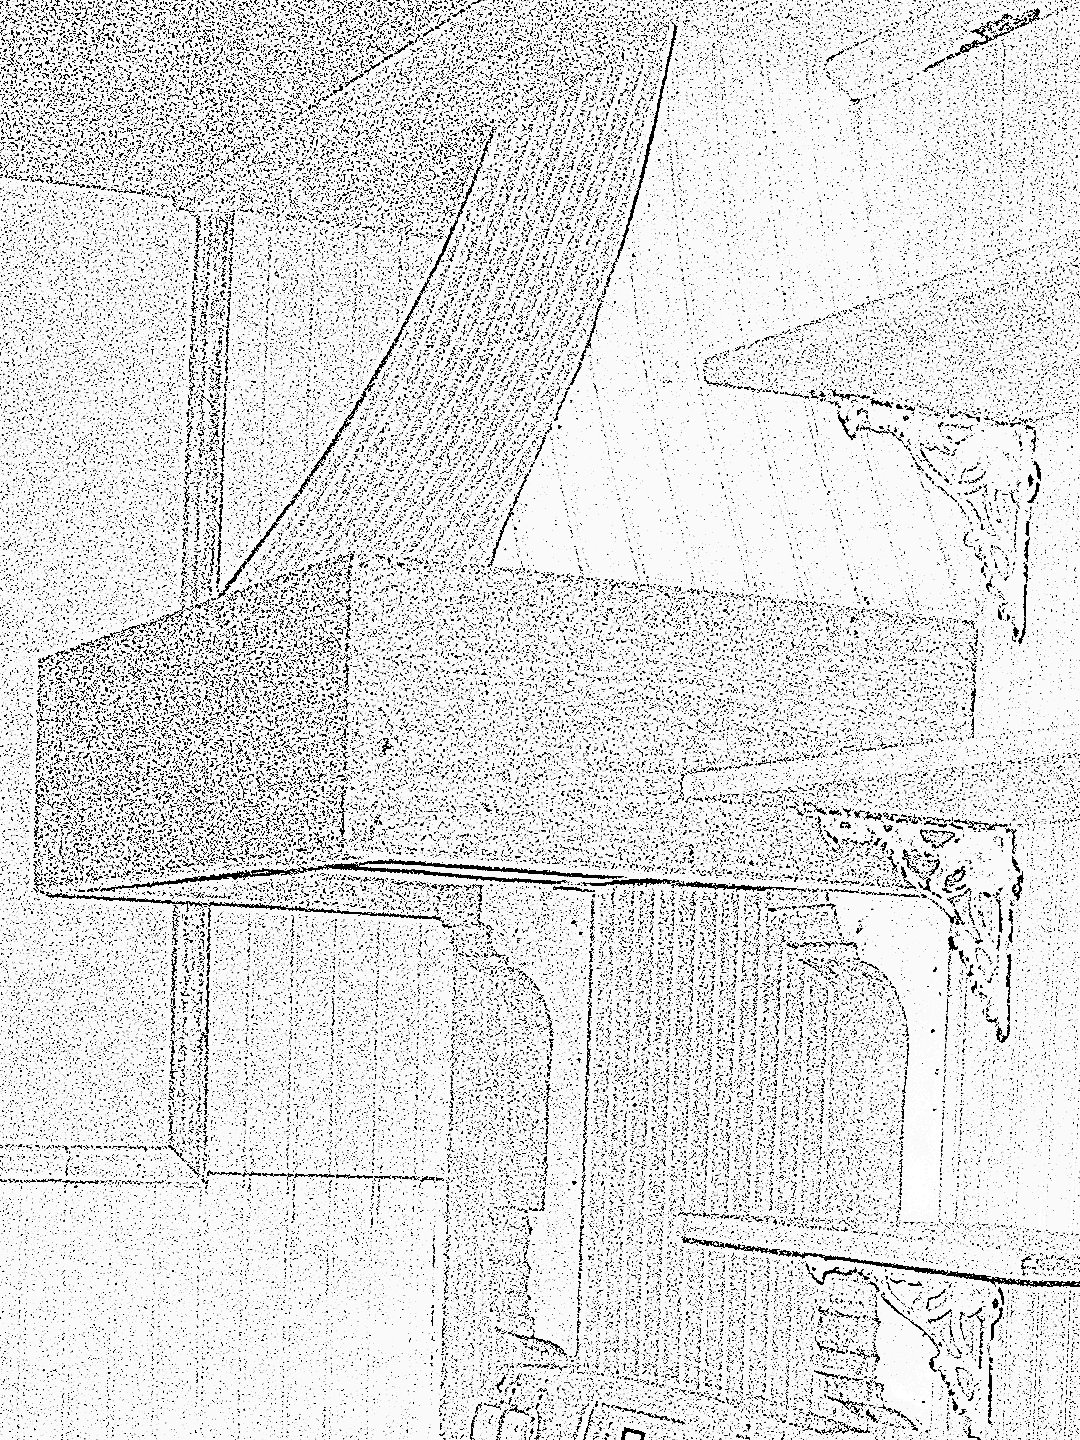
Also, this is a good time to pull in some architectural salvage. I used vintage corbels, but vintage fretwork, gingerbread molding, or very large cast iron brackets would look equally as lovely.
The last step is to paint everything out. I'd suggest high-gloss heavy duty paint to make clean up easier in case something smokes or splatters!

Materials:
1 sheet of plywood (do not use MDF, I suggest birch veneer plywood, as you do need to paint this and will want a smooth finish. MDF can't stand the heat, so leave it out of the kitchen!)
2 - 3 2 x 4s, more or less depending on the scale of the project.
1 - 2 sheets of bead board paneling, depending on the size of the hood. Don't try and use traditional tongue and groove bead board--it won't work!
Paint and supplies, caulk, brads, screws, construction adhesive (Liquid Nails)
Again, you may need more materials depending on what sized hood you construct, and to account for any trial an error during construction. I had enough extra materials from my kitchen renovation, I didn't have to purchase any additional materials.
Tools Required:
Table saw
Miter Box
Power Drill
Power Screwdriver
Jig Saw
Brad Gun
Notes:
This project took a skilled carpenter about 2 full days to finish, for the average DIYer this is quite the undertaking, plan on at least a week! Before using any tools or equipment be sure to read the owners manual and thoroughly understand how they work. Take all suggested safety precautions and always wear safety glasses. Please consult qualified professionals to assist you anywhere you feel uncomfortable or uncertain with any DIY project.
If you have any suggestions or questions, please let me know! I'll be glad to answer them to the best of my ability! If you live in the Richmond, VA area and would like more information about Joe, please email me at dmfuller [at] liberty [dot] edu.
~Mikey @ Shabby French Cottage
Disclosure: I am providing this tutorial free of charge as a tip to help those wishing to recreate the look of my kitchen. I can not be held liable for any mishaps, injury, or damages arising from anyone trying to recreate this project. Any brand names mentioned in this post are merely suggestions and not endorsments or paid advertising.